I’d recently taken the plunge and purchased VMware Fusion 8 for my Mac Pro after many years of using VirtualBox. It’s not that I’m unhappy with VirtualBox however I’d heard from friends that Fusion was considerably quicker for them.
Migrating the Solaris 11.2 virtual machine from VirtualBox ran into a few issues, where the machine would crash at startup, which had to be fixed by removing the /dev, /devices and /etc/path_to_inst file and directories from the VM, then copying these over from an install ISO.
Anyhow after fixing that and installing Fusion guest additions, I noticed the mouse was awfully slow and very laggy. I tuned this inside the Solaris VM using:
System -> Preferences -> Mouse
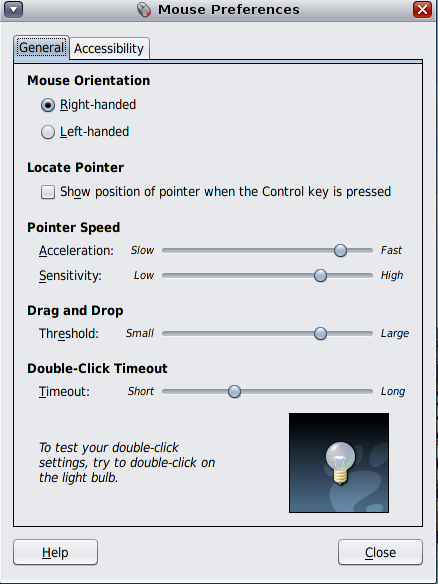
To try and adjust the acceleration and sensitivity, however this made no difference.
So I turned to the Internet and found that “slow mouse” and “fusion” were reasonably common terms that hit a number of technical documents, including this Knowledge Base document from VMware:
It seems the suggestion is to:
- Switch on “gaming” optimisation and if that doesn’t work
- Switch off “gaming” optimisation
Needless to say, neither of these actually worked.
Anyhow today I’ve figured out how to fix this, after I read the following document (almost by accident):
To quote from that KB document:
- Verify that VMware Tools are installed in the Solaris 11 virtual machine. For more information, see Installing VMware Tools in a Solaris virtual machine (1023956).
- Enter single-user mode in the guest operating system by running the command:
init S
- Generate a new xorg.conf file by running the command:
Xorg -configure
- Copy the newly generated file /root/xorg.conf.new to /etc/X11/xorg.conf:
cp /root/xorg.conf.new /etc/X11/xorg.conf
- Open the file /etc/X11/xorg.conf for editing and modify the Mouse0 InputDevice section. For example:
Section “InputDevice”
Identifier “Mouse0”
Driver “vmmouse”
EndSection - Open the file /etc/hal/fdi/policy/10osvendor/11-x11-vmmouse.fdi for editing.
- Find the line that says:
<append key=”info.callouts.add” type=”strlist”>hal-probe-vmmouse</append>
- Add this line underneath it:
<merge key=”input.x11_driver” type=”string”>vmmouse</merge>
- Reboot the virtual machine.
Now I didn’t bother to create a new xorg.conf file, merely made a backup copy of the existing file that had, mostly been working. I also didn’t entirely follow section 5 as you can see below:
Section "InputDevice"
        Identifier "Mouse0"
        Driver "vmmouse"
        Option "Protocol" "auto"
#       Option "Device" "/dev/mouse"
        Option "ZAxisMapping" "4 5 6 7"
EndSection
In addition, for section 7 and 8 I modified the input.x11_driver in two places, thus:
<?xml version="1.0" encoding="ISO-8859-1"?>
<deviceinfo version="0.2">
 <device>
 <match key="info.capabilities" contains="input.mouse">
 <match key="input.originating_device" contains="i8042_">
 <append key="info.callouts.add" type="strlist">hal-probe-vmmouse</append>
 <merge key="input.x11_driver" type="string">vmmouse</merge>
 </match>
 <match key="freebsd.driver" contains="psm">
 <append key="info.callouts.add" type="strlist">hal-probe-vmmouse</append>
 <merge key="input.x11_driver" type="string">vmmouse</merge>
 </match>
 </match>
 </device>
</deviceinfo>
Finally after rebooting I did have to go back to this menu:
Preferences -> General -> Gaming
and set this option to “Never optimize mouse for games”
Et-voila! I now have a working, responsive mouse!
